Lemon Berry Cake
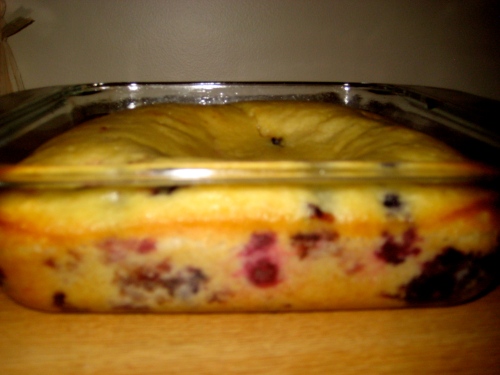
Posted: March 7, 2011 Filed under: Breakfast- Sweet, Cakes Leave a commentI know I haven’t posted in ages and ages, but I assure you that I haven’t lost my interest in food blogging. School this term was very busy. However, I have to share two delicious recipes for a berry lemon cake. The obsession started last August when I wanted to make a birthday cake that combined berry and lemons-two things that epitomize summer in my head. At that point, I used Smitten Kitchen’s Lemon Yogurt Anything Cake and added raspberries.
 The Smitten Kitchen Raspberry rendition.
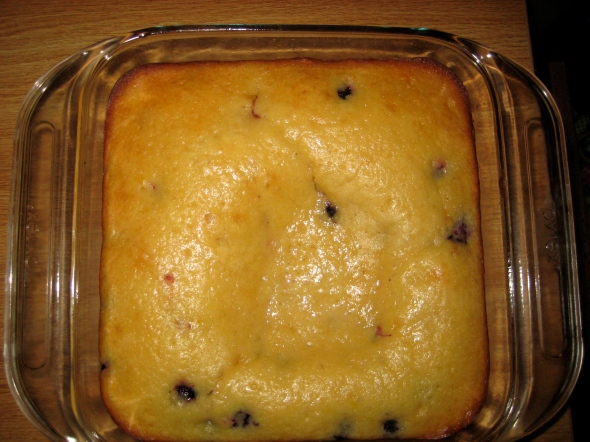
This weekend, I wanted to make another birthday cake with blueberries and lemons. I found a recipe on TasteSpotting on this blog, and added blueberries.
Blueberry Orangette Recipe from this weekend.
Both cakes were absolutely delicious (I think the addition of yogurt in both is key!) and it’s very hard to determine which was better. However, the version I made this past weekend was more simple to make. For both, use discretion when soaking the cake in the lemon-sugar glaze. I definitely would have had a soggy mess of a cake had I used all of the glaze I made! I highly recommend either recipe for a weekend brunch or a birthday.
It sank in the middle when it was cooling because I didn’t have a large enough pan. The very gooey piece in the middle was equally delicious in my opinion.
Best Post So Far
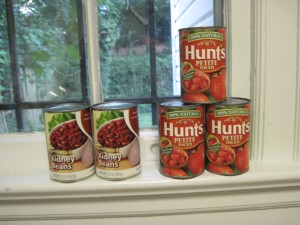
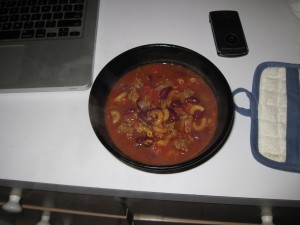
Posted: September 25, 2010 Filed under: Uncategorized Leave a commentI would be lying if I said I wasn’t bouncing around in my chair at work thinking about this chili every day until I got it in my mouth. My coworkers got pretty sick of how much energy I had, which is quite ironic considering where we work. But I didn’t want to call them out about it. I just wanted warm meat in my mouth. So I waited and waited and waited for the Safeway truck to get here. On the day it was supposed to come, I quickly got my workout in between 6:00 when I got home and 7:00, the earliest time it would come. However, I had to wait the whole two hour time slot until it came, so I didn’t get my groceries until 9:00, which was thoroughly disappointing, because that was too late to make dinner, especially since it was the week from hell at work when I had to get there at 7:30 instead of 9:00 basically every day. Thanks a lot, clean energy; it’s all your fault. So I pulled out the groceries and put them away instead. Mmmm two cans of beans, three cans of diced tomatoes, the lovely onion, a box of quality generic elbow macaroni. But nothing made me drool as much as the pound and a half of ground beef that I pulled out last. Look at it in there, all calm and pink, having no idea that its flesh was going to be roasted on a skillet tomorrow and shoveled into my mouth well before it had cooled off enough. I put it in the fridge and went to bed.
The next night I raced home. I think I even left work a little early. I’d never wanted anything more in my entire life. As the doors of the Metro opened I leapt out and fell into a somersault towards the escalator, which I scaled with ease. Nothing was going to stop me now! The mile walk home was a long slog as usual, but I had an unusual spring in my step. I was about to have the best night of my life, and I knew it.
Anyway, I just read the other entries in this blog and must apologize to this audience. I didn’t realize personal stories about the desire for food were not generally part of the blog posts. Perhaps because boredandhungry usually relates these stories to yours truly all the time. I must have merged the two in my mind. So now to get to the good stuff.
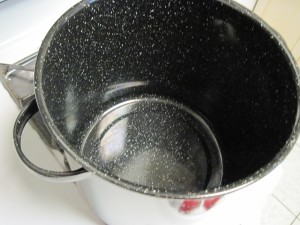
I laid out all the ingredients I would need on the counter and pulled out the big chili pot from the lower cabinets. On the cutting board I chopped up the onion. Now, some people laugh, but in order to ensure that you get all the quality flavour (trying to be fancy here) out of each onion bit, you must spend at least twenty minutes chopping it (you also must cry like a baby). I like to peel it first, but you don’t have to. Some people enjoy the crusty exterior and the nice crunch it provides to the finished product. I cut it in half and then chopped horizontal and then vertical. You’ll probably want a knife for this part. I then examined each piece and chopped again if it looked too big, and popped it in my mouth if it looked too little. Every piece must be exactly the same size; otherwise the presentation will be poor (even though it will taste the same). Luckily I wasn’t worried about the presentation.
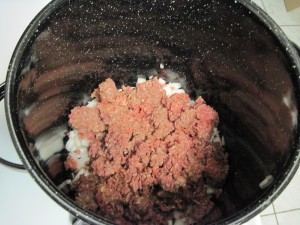
I put the onions into the big pot and then ripped apart the meat with my bare hands! I stuck that in the pot and turned up the HEAT!
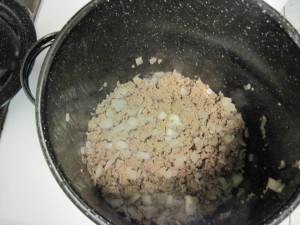
I waited for it to start to crackle, and I wasn’t disappointed. I cooked it with some stirring for about 12 minutes, once all the meat had browned. Next it was time to get those tomatoes and beans in there! We have now reached the point in the process where my momentum came to a skidding halt. Why, you ask? Well, because yours truly, no matter how much I practice and how many times I do it, is incapable of using a can opener. That’s right folks, it took me twenty-five full minutes to extract the beans and tomatoes from five cans. I remembered to put the lid on the pot with the meat and onion in it luckily, but it still cooled down quite a bit. So here is RECOMMENDATION #1: open the cans at the beginning of the cooking process. This way you can just plow through. And for those of you wondering, I don’t think there is going to be a recommendation #2.
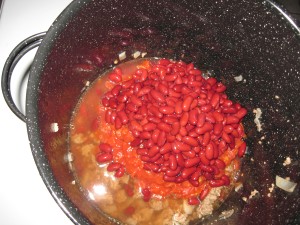
Once I got the beans and tomatoes into the pot, I then added the water and the relatively generous amount of chili powder. I then cooked that on the stove for another ten minutes, stirring occasionally.
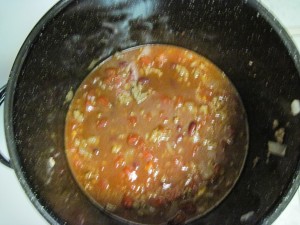
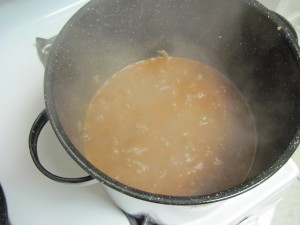
Here’s where things start to get interesting. After that, I dumped in 8ish ounces of elbow macaroni. I was a bit skeptical about this at first. Why potentially ruin a perfectly good pot of chili?? But I did it anyway, because I’m a very, very adventurous person. I stirred it in and cooked for another ten minutes. By this point, the smell was overpowering. I was losing it I was SO excited to eat!
But, a word of caution: don’t get too excited. Not because it’s not good. OH it’s good! You just don’t want to burn off all your taste buds on your first bite like I did. Then you can’t taste any food for a few days. But it’s ok in the end. The macaroni, incidentally, added a delicious element to the utterly delectable chili. The delightful crunch of the onion pieces, the luscious taste of the tomatoes, and the scrumptious chewiness of the beans, which definitely produced much flatulence all night, contributed to one of the best experiences of the summer. But it was the meat that really did it. Such a simple thing; slaughtering a (probably genetically-enhanced) cow and feasting on its roasted flesh, brings joy into my life and the lives of everyone else. My housemates literally came out of the woodwork to eat this. Actually, that was a beetle. But one housemate came down from a nap to eat some, another left work early to get some of this action, and a third cancelled her plans that night when she heard that there was chili. Yes indeed, it brought the whole house together, united in applause. I would recommend watching The Office on your laptop at the dining room table with everyone while eating it. I mean actually watching the television show The Office. Not in the other way. But I bet that would be a great experience too. Maybe next time I make it . . .
Jamaican Jerk Chicken
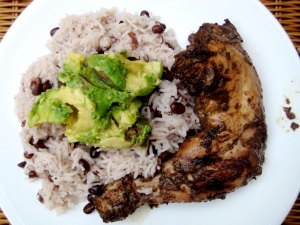
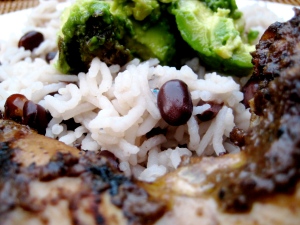
Posted: September 5, 2010 Filed under: Other Random Ethnic Adventures Leave a commentI LOVE Jamaican Jerk chicken. One of my absolute favorites. Of course, people who know me well claim that every food is my favorite. This is my mom’s recipe, one which I adore very much. You throw everything into a food processor and marinate chicken of your choice (thighs are great). We ate this with rice and black beans, and avocadoes that were made into a sort of guacamole with salsa. Yum. Since it’s summer, the chicken was grilled. Add green chilies based on how much spice you like, so maybe start with one and taste the marinade as you go. 🙂
3 bunches green onions
2 T all-spice (buy the whole all-spice, then grind it yourself at home… the pre-ground stuff is no good)
1/2 cup red wine vinegar
3-4 green chilies
2 T oil
Salt and Pepper
Murgh Makhani
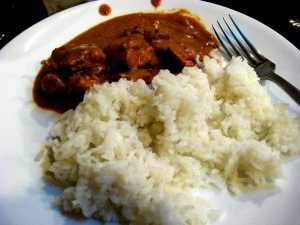
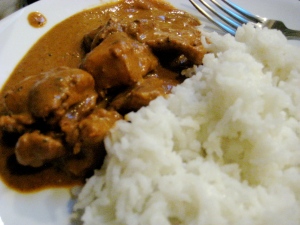
Posted: September 4, 2010 Filed under: Indian, Uncategorized Leave a commentAdapted from the lovely cookbook “Curry Cuisine”, this recipe is the authentic re-creation of one of my favorite Indian dishes, “butter chicken”. When ordered at Indian restaurants in the United States, chicken makhani always leaves me feeling uncomfortably full, and frustrated by the overcooked chicken. The trick to this recipe is grilling the chicken only ~halfway and then briefly letting it finish cooking as it simmers in the sauce. This will remain a favorite recipe of mine for years (hence it merits a blog post so I can find the recipe again). To be perfectly honest, the chicken marinated and grilled, but without the sauce, is equally delicious if you don’t have the additional spices/time. Make sure that you use high quality garam masala. We always seem to have some from India on hand, but since that isn’t always feasible, look at ethnic and Indian grocery stores.
2 t ginger paste
3-4 cloves fresh minced garlic
2 t salt
3 t chili powder
juice of 1 lemon
1 3/4 lb boned chicken thighs, skinned and cut in half
3 1/2 oz plain, Greek-style yogurt
1 t ground garam masala
For the sauce:
2 3/4 lb. tomatoes, cut in half
1-in piece fresh ginger root, crushed
4 garlic cloves, peeled
4 green cardamom pods
2 cloves
1 cinnamon leaf or bay leaf
1 1/2 T Kashmiri chili powder
1/2 stick butter, cut into small pieces
1-in piece fresh ginger root, finely chopped
2 green chilies, quartered lengthwise (fresh from my school’s community garden, these were quite delicious)
1/3 cup heavy cream
1 t salt
1 t ground dried fenugreek leaves
1/2 t ground garam masala
For the marinade:
Mix together ginger paste, garlic, salt, chili powder, and lemon juice in a large bowl. Add the room temperature chicken, and using your hands, thoroughly rub the chicken with the marinade. Set aside for at least 20 minutes (we set ours aside for a few hours). 10 minutes before grilling, mix the yogurt with the garam masala and apply to the marinated chicken.
Put a rack on the grill and heat the grill and rack. Cook the chicken on the rack, turning occasionally to cook evenly on both sides. Take the chicken off the grill when it’s about halfway finished with cooking.
For the sauce:
Place the tomatoes in a pan with ~1/2 cup water and add the crushed ginger, garlic, cardamom pods, cloves, and cinnamon leaf. Cook until the tomatoes are completely broken down and soft.
Remove the pan from the heat and allow it to cool slightly before blending it to make a very smooth purée.
Return the mixture to the pan and bring to a boil. Stir in the chili powder, but only if you do not find a bite of the cooked chicken with marinade too spicy. Cook until the purée starts to thicken, and then incorporate the butter only ~2 slices at a time, stirring constantly.
Once the sauce becomes glossy, add the chicken and simmer for 5-6 minutes. As the sauce begins to thicken, add the chopped ginger, slit green chilies, and cream. Continue simmering until the sauce is thick enough to coat the chicken.
Remove from heat before the fat separates. Add salt, ground fenugreek, and garam masala and mix well.
Voila! This will be better than any restaurant’s chicken makhani, and will fill your kitchen with the most appetizing smell. Serve with rice or hot naan (also found at the Indian grocery store, or easily homemade).
Peach and Blueberry Galette
Posted: August 9, 2010 Filed under: Flaky Desserts Leave a commentTwo of my absolute favorite fruits are peaches and blueberries. I had three over-ripe peaches the other day and wanted to do some baking. Ironically enough, tastespotting led me to the most lovely concept I have learned about recently- galettes. A delicious cross between a crisp and a pie, I’m addicted. I used the recipe almost exactly as written here, with a few slight modifications which I will include below. I really REALLY enjoyed the delicate flavor of this pastry and the sweet buttery topping. My pastry making skills need significant amounts of practice, but this was only the second time I’ve tried to make a homemade crust so it’s alright.
Ingredients:
1 unbaked (9-inch) pie crust
3 ripe yellow peaches, peeled and sliced
1 cup blueberries
a little less than ¼ cup granulated sugar
3 tablespoons lemon juice
2 teaspoons vanilla extract
1/3 cup light brown sugar
½ cup flour
½ teaspoon cinnamon
¼ cup (½ stick) butter, softened
Directions:
Toss together peaches, blueberries, lemon, vanilla, and granulated sugar. Set aside.
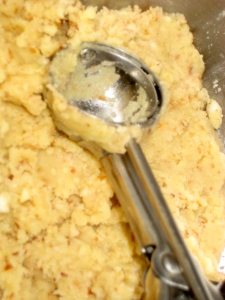
Place all remaining ingredients except pie crust in mixer bowl. Attach bowl and flat beater to mixer. Turn to Speed 2 and mix until crumbly. Set aside.
Roll out pastry into a 13-inch circle and paint with egg wash. Transfer to baking sheet (it’s ok if pastry hangs over edge of baking sheet).
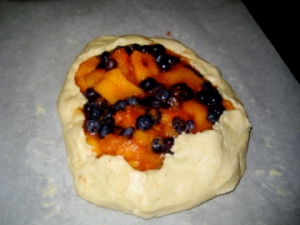
Gently mound peaches and blueberries in the center of pastry, leaving a 2-inch border of dough on all sides. Be careful not to overfill the pastry with fruit like I did! Eat the extra fruit if necessary. Fold pastry up over filling, pleated as necessary to fit snugly around fruit. Gently press dough to filling, reinforcing shape. Lightly brush the entire surface of the pastry with egg wash. Sprinkle with as much or as little of the cinnamon sugar mixture– I used all of it!
Bake at 400 degrees until pastry is golden brown and fruit has begun to solidify, about 40-45 minutes. Cool galette on baking sheet on wire rack for 10 minutes (I definitely didn’t wait that long, ha). Serve warm.
Pie Crust Recipe
Ingredients:
1¼ cups all-purpose flour
8 ounces cold unsalted butter
1/3 cup water
2 teaspoons apple cider vinegar
½ teaspoon fine sea salt
Directions:
Place flour in bowl. Cut the butter into pieces and add to the flour. Put the bowl into the refrigerator for 10 minutes so the butter can firm up again.
In a small bowl, combine the water, vinegar and salt. Place that in the refrigerator, as well.
Mix the butter and flour mixture using a pastry blender until the butter particles are the size of small peas.
Add the cold water/vinegar/salt mixture 1 tablespoon at a time and gently blend until ingredients are moistened and dough begins to hold together. Pat dough into a smooth ball and flatten slighting. Wrap in plastic wrap. Chill in refrigerator at least 15 minutes and for no longer than 24 hours.
Pre-baking and Pre-crumb topping. Not the most beautiful, but definitely the most delicious.
Apple Pancake Contest
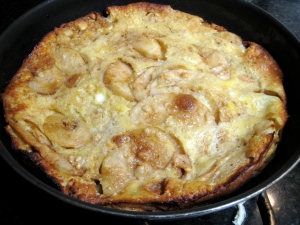
Posted: August 9, 2010 Filed under: Breakfast- Sweet Leave a commentDuring a recent weekend in Chicago, my mom and I developed cravings for a diner-like breakfast. Some scouting around the internet had me drooling for the apple pancake at Sally’s Waffle Shop in the Jefferson Park neighborhood. Even the 45 minute wait for the amazing piece of heaven wasn’t enough to quell my love for this! We feasted on its crisp and sweet exterior and cake like inside. Back at home, we embarked on a competition to re-create it. My mother insisted it was a Swedish Apple Pie… I won the competition with this delicious pancake, but it wasn’t close to the heaven we had at Sally’s. Perhaps fewer eggs would have helped. (http://www.urbanspoon.com/r/2/16195/restaurant/Jefferson-Park-Norwood-Park/Sallys-Waffle-and-Pancake-Shop-Chicago)
Filling:
3 or 4 tart green apples, peeled, cored, and thinly sliced
1 cup granulated sugar
2 T ground cinnamon
1/4 t nutmeg
1/4 cup butter
Batter:
5 large eggs
3/4 cup all-purpose flour
3 T granulated sugar
1/2 t baking powder
1/4 t salt
1 cup milk
2 T melted butter
1 t vanilla extract
~2-3 T brown sugar
1. Preheat oven to 425°F and combine apples, sugar, cinnamon, and nutmeg in a saucepan and cook for about 15 minutes or until apples are tender and fragrant.
2. While the apples bake, melt 1/4 cup butter in the oven in a large frying pan. Remove pan from oven and carefully swirl melted butter to coat all sides. Pour in the apple mixture.
3. Beat the eggs, flour, sugar, baking powder, salt, milk, 2 tablespoons melted butter, and vanilla until well mixed.
4. Pour egg mixture over the apples, sprinkle liberally with brown sugar, and bake for 15 minutes at 425°F; reduce heat to 350°F and cook an additional 10 to 15 minutes or until golden brown on top.
Serve immediately! With ice cream, if you’d like 🙂
Makes 4 to 6 servings.
Chipotle Shrimp Tacos
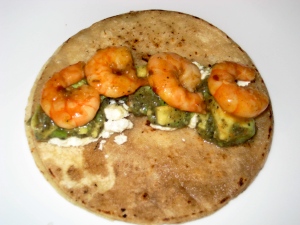
Posted: August 9, 2010 Filed under: Mexican 2 CommentsInspired by the amazing chipotle shrimp taco I had at Frontera Fresco, a Rick Bayless restaurant at Old Orchard Mall in Skokie, Illinois, I was determined to re-create my experience in limitless quantities at home. This recipe is incredibly simple after you have purchased your chipotle seasoning of choice. Also one of my new favorite foods.
The quantities of all ingredients used in this recipe are dependent on how much you’d like to make. I marinated baby shrimp with:
Cumin
Chipotle Seasoning Mix
Salt
Pepper
Chili Powder
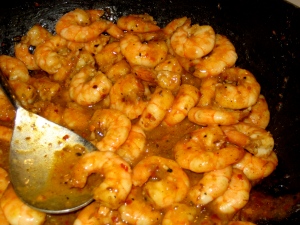
The shrimp was cooked on the stove until just tender and I added lemon juice to taste. I made an avocado salsa mixture by mixing chopped avocadoes with salt, pepper, and green tomatillo salsa, and used feta cheese and corn tortillas. After warming the tortillas up on the stove with some butter, I immediately sprinkled the cheese, avocado mixture, and warm shrimp on top. If you’re like me, you’ll add additional lemon juice on top of your entire concoction. These would be delicious with rice and beans on the side.
New York State of Mind
Posted: July 10, 2010 Filed under: Restaurants, Uncategorized Leave a commentThe highlights of my first trip to New York City were definitely all food-related. In fact, I can’t wait to return to the city to eat at the restaurants on my list that I didn’t get a chance to visit. Here are the highlights and my recommendations (should you take a trip) 🙂
L’Ecole, the Restaurant of the French Culinary Institute
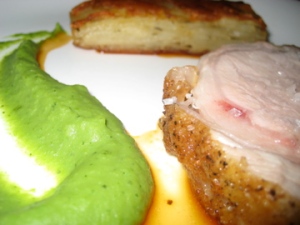
L’Ecole has one of the most delicious five course prix fixe menus in New York City (of course, I’ve never had another… but still…). Every bite is filled with rich flavor and best of all, we left feeling just perfectly full. I had my first experience with Arctic Char and am reluctant to eat salmon again- the char was similar to salmon, but ten times more tender and flavorful. I was surprised by the amazing flavor of the pork loin, complimented by the fresh mint-pea purée. Potatoes served with both meat courses were flavorful and delicate. My favorite part of the meal, strangely enough, was the lemon ricotta sorbet served with the digestive salad. Simultaneously creamy, sour, and cool, it was the perfect end to the meal pre-dessert.
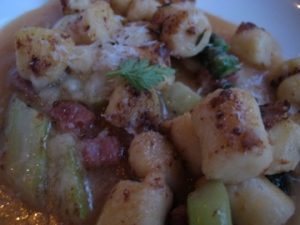
Parisian Gnocchi with Asparagus and Prosciutto in a Lemon Chicken Velouté
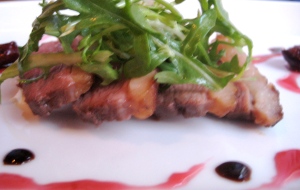
Five-Spice Marinated Duck Breast with Pickled Cherries and Goat Cheese
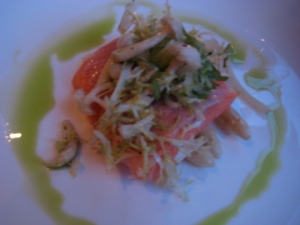
Poached Arctic Char with White Asparagus and…
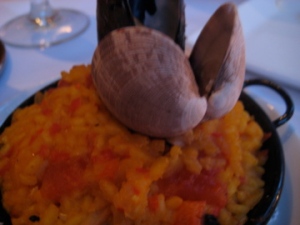
the best Paella!!
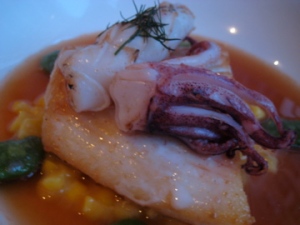
Fillet of Bass in a Spiced Crustacean Broth with Grilled Squid, Creamed Corn and Fava Beans
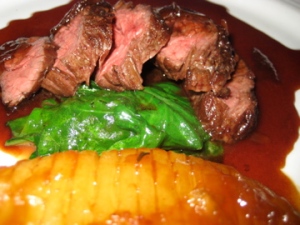
Hanger Steak with Pommes Boulangere
Roasted Hampshire Pork Loin with Mint-Pea Purée, Potato Terrine and Sherry Vinegar Pork Jus
Amazing Lemon Ricotta Sorbet with the Digestive Salad
Part of the trio of Chocolate desserts- German Chocolate Cake
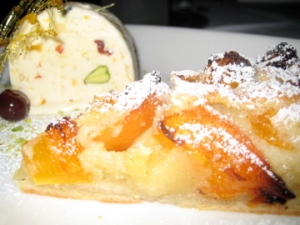
Amazing Peach and Blackberry Tart with fresh Pistachio and Dried Fruit Ice Cream
Chimichurri Grill, Argentine Cuisine
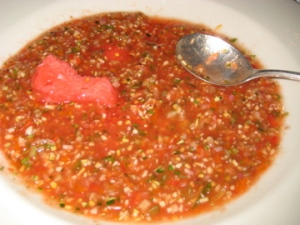
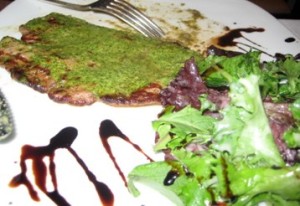
We chose this restaurant due to its proximity to the theater district. I was surprised by the flavor in everything. The gazpacho was full of fresh tomatoes and unlike many gazpachos, had a refreshing crunch. While the watermelon sorbet complimented the gazpacho well, when eaten plain, I found it a bit too artificially sweet. The filet mignon was out of this world- tender, flavorful, yum. The only thing I would have added was a side dish. For dessert, I tried the lavender-infused flan and was delighted by an incredibly creamy and flavorful treat. I haven’t had good flan in a long time (the dining hall just doesn’t cut it), so it was nice to be reminded of how tasty it can be.
Gazpacho served with Watermelon Sorbet (presentation in this picture is lacking because I was too excited to start eating)
Chimichurri Filet Mignon
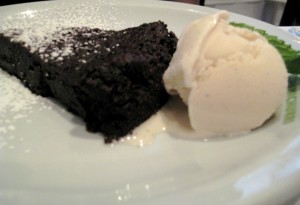
Flourless Chocolate Cake- not my favorite here, but still very good
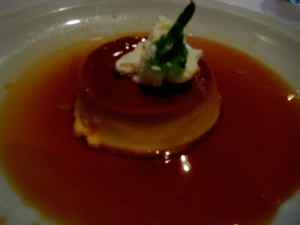
Lavendar-Infused Flan
202
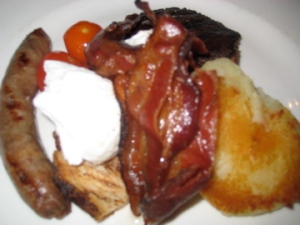
A craving for post-July 4th brunch led me to 202, a restaurant tucked into a designer store for attire, housewares, and antiques from Paris and the South of France. I was happy to find that it is indeed possible to combine two of my favorite things- food and shopping. While you wait for your food, you can look around at the selection of clothes, shoppers, and other diners. For brunch, we had the English Breakfast- a combination of poached eggs, toast, bacon, sausage, a mushroom, delicious potatoes, and tomatoes. 202 is also famous for its french toast, which we also ordered. It was easily some of the best french toast I’ve ever had and I would happily eat it every day if I could.
French Toast (with bacon on top)
English Breakfast (not a good picture- I apologize)

